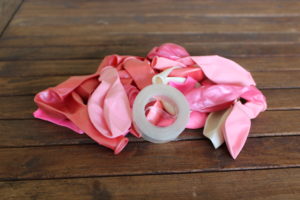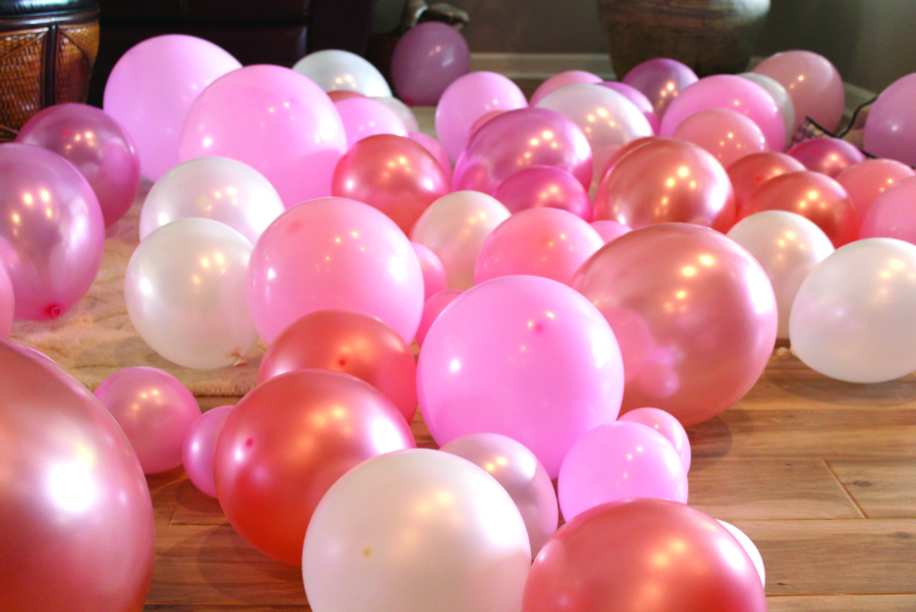
Make sure to blow up the balloons in varying sizes. The sizing doesn’t need to be perfect or exact in any way, but having very large, large, medium, small and mini options on hand will add texture to the arch. Helium isn’t necessary for this step, but a balloon pump is recommended.
Cut the balloon arch decorating strip to your desired length based on the area that you will be placing the arch. Pull the balloon knots through the holes on the strip, alternating side and varying the different sizes of balloons as you go. There is no right or wrong way to place the balloons, so be creative! Reserve half of the mini balloons for the final step.
Step 3: Find the Right Spot
The balloon arch will brighten any area of your party, whether it’s draped along a wall to highlight a gift table or buffet, hung from the ceiling to act as a backdrop for a photo station, or arranged across a gazebo or other walkway into the event. Secure the arch to your perfect location using heavy duty tape, nails or command hooks.
Once your arch is hung, use the glue dots to secure the mini balloons to the larger balloons to make it look more full. These mini decor balloons can be placed as you see fit, wherever you see a hole to fill.
Tip! This arch can be completed in about an hour from start to finish, making it easy to do for decor on party day. However, the balloons will stay intact even if you make it 24 to 48 hours in advance.

