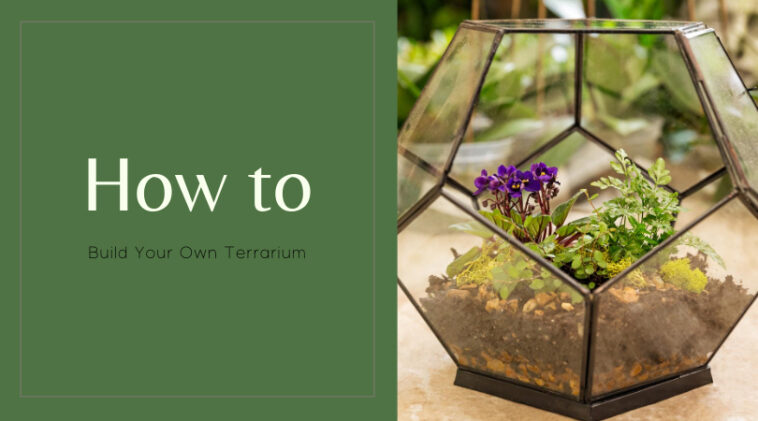
Bring the outside into your home with a terrarium project that is fun for the whole family. Here’s how to do it.
How to Do It

Step 1: Choose a container. It can be open or closed and any size, depending on your preference. Place one to two inches of washed pebbles on the bottom of the container to allow for drainage.
Step 2: If you’re making a closed terrarium, add a layer of charcoal, which will filter the air and cleanse the bacteria. Open-top terrariums will get plenty of fresh air, so there is no need to add charcoal if you go that route. Next, add about two inches of light potting soil to hold the plants.
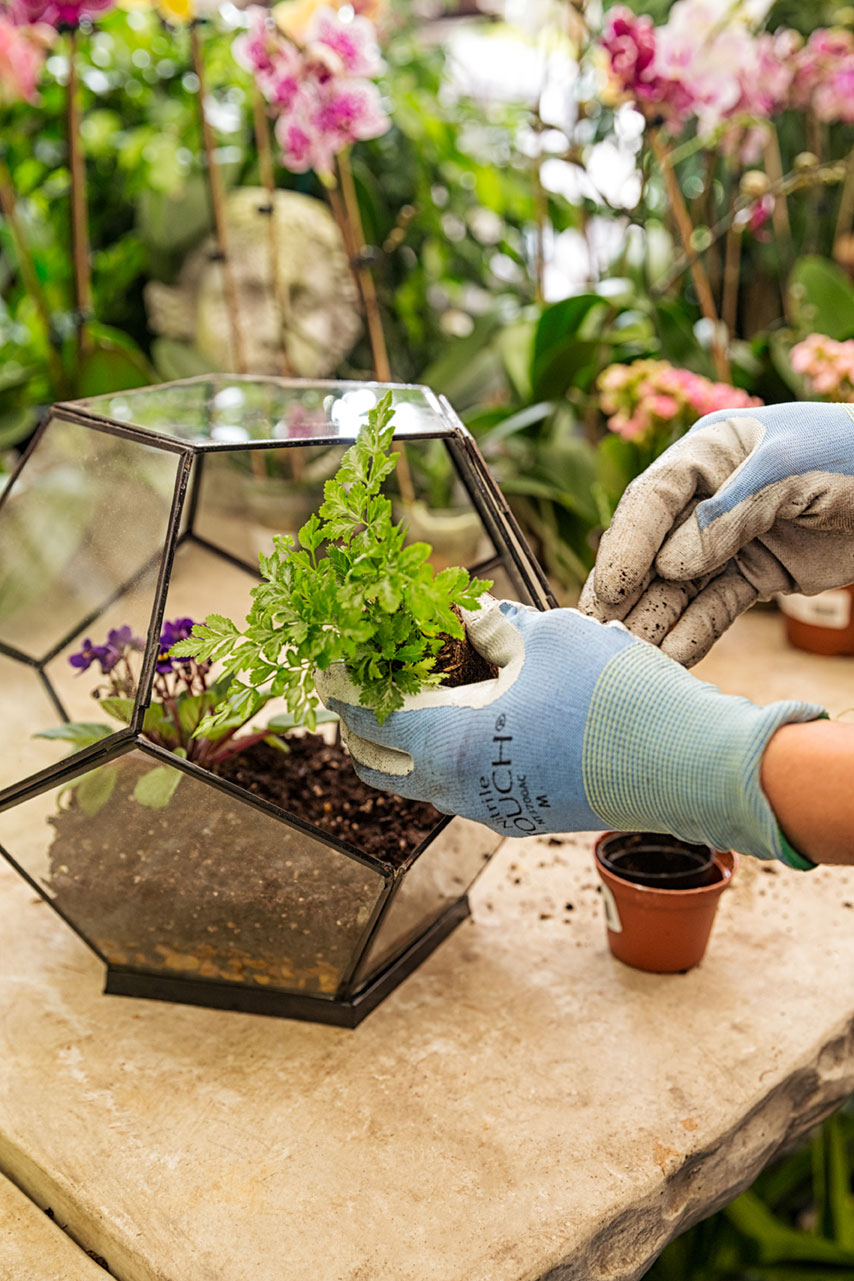
Step 3: Choose several plants, taking into account textures and plant type. Mixing textures will be nice visually, but make sure not to mix succulent and foliage varieties because they have different watering requirements. Succulents work best in an open-top container and foliage will prosper in a closed container. Consider a layer of decorative or live moss to create moisture and add a pop of color. Plant your selections just as you would in a pot.
Step 4: Finish the terrarium by adding water. Using a spray bottle is best, as you risk adding too much when pouring water directly into the container and leaving the water with no outlet. Make sure to spray the soil with water, not the plants.
Step 5: Choose a place to display your beautiful new terrarium. Whether it’s on the coffee table or on the desk in your home office, the plants will thrive as long as they’re in a place that has plenty of light. Most plants will grow to the size of the container, but you may need to re-plant in six months to one year.
Put Together a Windowsill Herb Garden

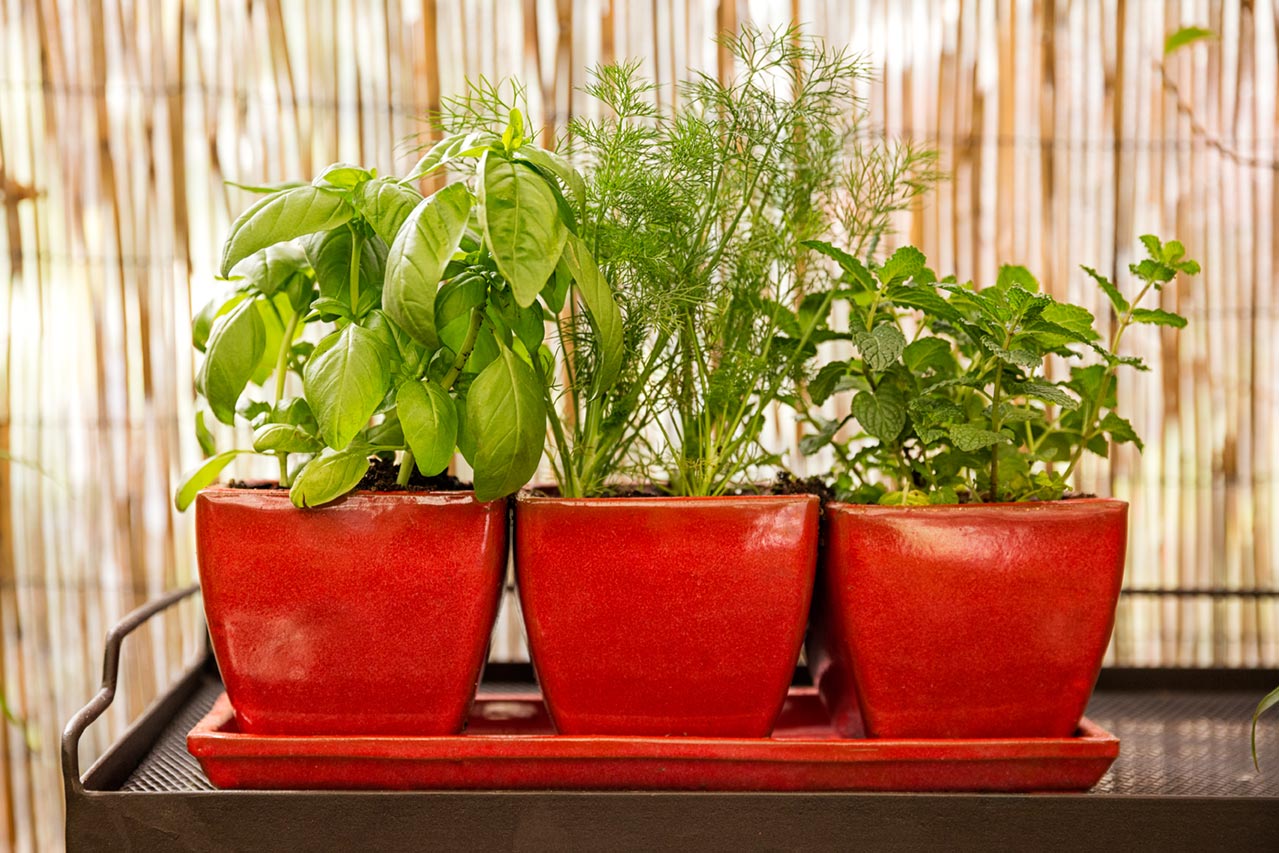
A windowsill herb garden for your kitchen makes for a pretty decoration and a useful tool when whipping up a fabulous dish. Wet herbs like mint, basil, cilantro, parsley and dill do best inside, and they are quick and easy to plant.
Step 1: Start by adding a layer of light potting soil to the bottom of the pot and add the plant so it sits an inch below the lip. Add just enough soil to the top layer so it doesn’t spill over the top. Tap down to get rid of air pockets and add extra soil as needed to fill any holes. Continue until all of the plants you want to include have been added to the pots. Display the pots on a tray to allow for water drainage.
Step 2: Add water to the soil using a watering can until it drains through. It goes without saying that you should water the soil when it begins looking dry. You should also spray the whole plant with water every 10 days and use an organic liquid fertilizer every 10 days for the best results. The key to a healthy plant is to pinch off the old growth as you’re using it.
Special thanks to Palmer’s Garden & Goods for providing materials and instruction.


Comments